When it comes to making ice cream at home this easy, no-fuss method combines creamy richness with a streamlined process that eliminates the need for stovetops, tempering, or fancy equipment.
One of the best things about this easy no cook chocolate ice cream with eggs is how simple and accessible the ingredients are. You don’t need any rare items or special powders—just a few kitchen staples that come together to create a rich, decadent frozen dessert.
Ingredients Needed for This Creamy Chocolate Ice Cream
Egg Yolks – The Creamy Foundation
Egg yolks are essential for achieving that classic ice cream texture. They act as a natural emulsifier and thickener, helping the mixture stay smooth and creamy. Since this is a no-cook recipe, it’s recommended to use pasteurized eggs to ensure food safety while still benefiting from the rich texture they provide.
Unsweetened Cocoa Powder – Deep Chocolate Flavor
Instead of using melted chocolate, this recipe relies on high-quality unsweetened cocoa powder to deliver a strong chocolate flavor. Dutch-processed cocoa can provide a smoother taste, but regular cocoa powder works well too, offering deep chocolate intensity without the need for melting or heating.
Heavy Cream and Whole Milk – Essential Creaminess
The blend of heavy cream and whole milk is what gives this chocolate ice cream its luxurious texture. Heavy cream provides the necessary fat content for richness, while whole milk balances it out to keep the ice cream light enough to scoop straight from the freezer.
Sweetened Condensed Milk – Sweetness and Structure
Sweetened condensed milk offers a perfect balance of sweetness and creaminess. It also contributes to the ice cream’s soft, scoopable texture, even without churning. This ingredient simplifies the recipe by acting as both a sweetener and texture enhancer.
Vanilla Extract – Flavor Booster
A small amount of pure vanilla extract elevates the chocolate flavor and rounds out the richness from the eggs and cream. It adds a subtle complexity that enhances the overall taste without overpowering it.
Optional Add-Ins
You can personalize your chocolate ice cream with additional ingredients for extra flavor or texture. Some great options include:
- Mini chocolate chips or chopped chocolate
- Chopped nuts such as pecans, almonds, or hazelnuts
- Swirls of peanut butter, caramel, or fudge
- A small pinch of sea salt for a gourmet twist
With these basic yet powerful ingredients, you’ll be ready to make a rich and creamy chocolate ice cream with eggs that’s easy, fast, and delicious—without cooking or churning required.
Step-by-Step Instructions for a Smooth, Egg-Based Chocolate Ice Cream
Making easy no cook chocolate ice cream with eggs is simple and fast, even for beginners. The key is using quality ingredients and following a few careful steps to ensure your ice cream turns out rich, creamy, and well-blended—without the need for cooking or an ice cream maker.
Follow this step-by-step guide to achieve a velvety texture and deep chocolate flavor in every bite.
1. Whisk the Egg Yolks and Sugar
Start by placing the egg yolks in a mixing bowl. If you’re concerned about using raw eggs, opt for pasteurized ones. Add the granulated sugar and whisk vigorously until the mixture becomes pale, thick, and slightly frothy. This process helps incorporate air and ensures a smoother texture in your final ice cream base.
Tip: Use a hand whisk or electric mixer on medium speed for 2–3 minutes to achieve the right consistency.
2. Add the Cocoa Powder and Vanilla
Sift the cocoa powder into the egg mixture to avoid lumps. Slowly whisk it in until it’s fully incorporated. Then add the vanilla extract and stir again. This step brings in the deep chocolate flavor and subtle aroma that define this dessert.
Note: If the mixture feels too thick at this stage, a splash of milk can help loosen it slightly.
3. Stir in the Sweetened Condensed Milk
Pour the sweetened condensed milk into the bowl and stir until well blended. This adds sweetness and creaminess to the base without the need for additional sugar or cooking.
This ingredient also plays a vital role in creating that soft, scoopable texture once frozen, especially in no churn ice cream recipes.
4. Whip the Heavy Cream Separately
In a separate bowl, use an electric mixer to whip the heavy cream until it forms soft peaks. The whipped cream adds volume and air to the mixture, ensuring a light, creamy mouthfeel in your finished ice cream.
Don’t overwhip—you’re looking for a soft, fluffy texture, not stiff peaks.
5. Fold the Mixtures Together
Gently fold the whipped cream into the chocolate base mixture. Use a spatula or large spoon, folding slowly from the bottom up to keep the air in the mixture. Avoid overmixing to preserve the light texture.
The result should be a smooth, unified base that’s thick, fluffy, and chocolatey.
6. Transfer to a Freezer-Safe Container
Pour the final mixture into a freezer-safe container, preferably with a tight-fitting lid. Smooth the top with a spatula and cover it with plastic wrap or parchment paper before sealing. This helps prevent ice crystals from forming on the surface.
7. Freeze and Set
Place the container in the coldest part of your freezer and let it freeze for at least 6 hours, or preferably overnight, to allow it to set completely. Once fully frozen, your egg-based no cook chocolate ice cream is ready to enjoy.
Tips, Tricks, and Storage Advice
To make the most of your no cook chocolate ice cream with eggs, it’s important to follow a few expert tips. These little tricks can help you elevate the texture, flavor, and longevity of your homemade dessert—ensuring it stays creamy, scoopable, and delicious every time.
Choose High-Quality Ingredients
Since this recipe requires no cooking, the flavor of each ingredient really stands out. Opt for:
- Fresh, pasteurized eggs for safety and richness
- Premium cocoa powder for deep chocolate flavor
- Heavy cream with high fat content for creaminess
- Pure vanilla extract (not imitation) to enhance taste
Quality matters more than quantity here, especially when the ingredients aren’t being heated or masked.
Mix Gently, But Thoroughly
When folding the whipped cream into the chocolate base, be careful not to overmix. Overmixing can deflate the air you’ve whipped in, which is crucial for a light and fluffy texture. Use a silicone spatula and fold gently in a circular motion from the bottom up until everything is just combined.
Use a Freezer-Safe, Shallow Container
Store your ice cream in a shallow, airtight, freezer-safe container to encourage faster and more even freezing. A metal or glass container works best, but BPA-free plastic containers can also be used. For best results:
- Smooth the top with a spatula to reduce air pockets
- Press a layer of parchment or plastic wrap directly on the surface to prevent ice crystals
- Cover tightly with a lid
Let It Soften Before Scooping
Unlike store-bought ice cream loaded with stabilizers, homemade versions—especially those made without cooking—may need to sit at room temperature for 5 to 10 minutes before scooping. This allows it to soften slightly and enhances the flavor and texture.
Don’t Refreeze After Softening
Try to scoop only what you’ll use, and avoid returning melted or softened ice cream back to the freezer. This helps maintain a smooth, consistent texture and prevents ice buildup. Divide into smaller containers if you expect to serve it in portions.
How Long Does It Last in the Freezer?
Your egg-based no cook chocolate ice cream can last up to 2 weeks in the freezer when stored properly. While it may technically keep longer, the texture and flavor are best enjoyed within this time frame. For optimal quality:
- Label the container with the date it was made
- Store it in the back of the freezer, where the temperature is most stable

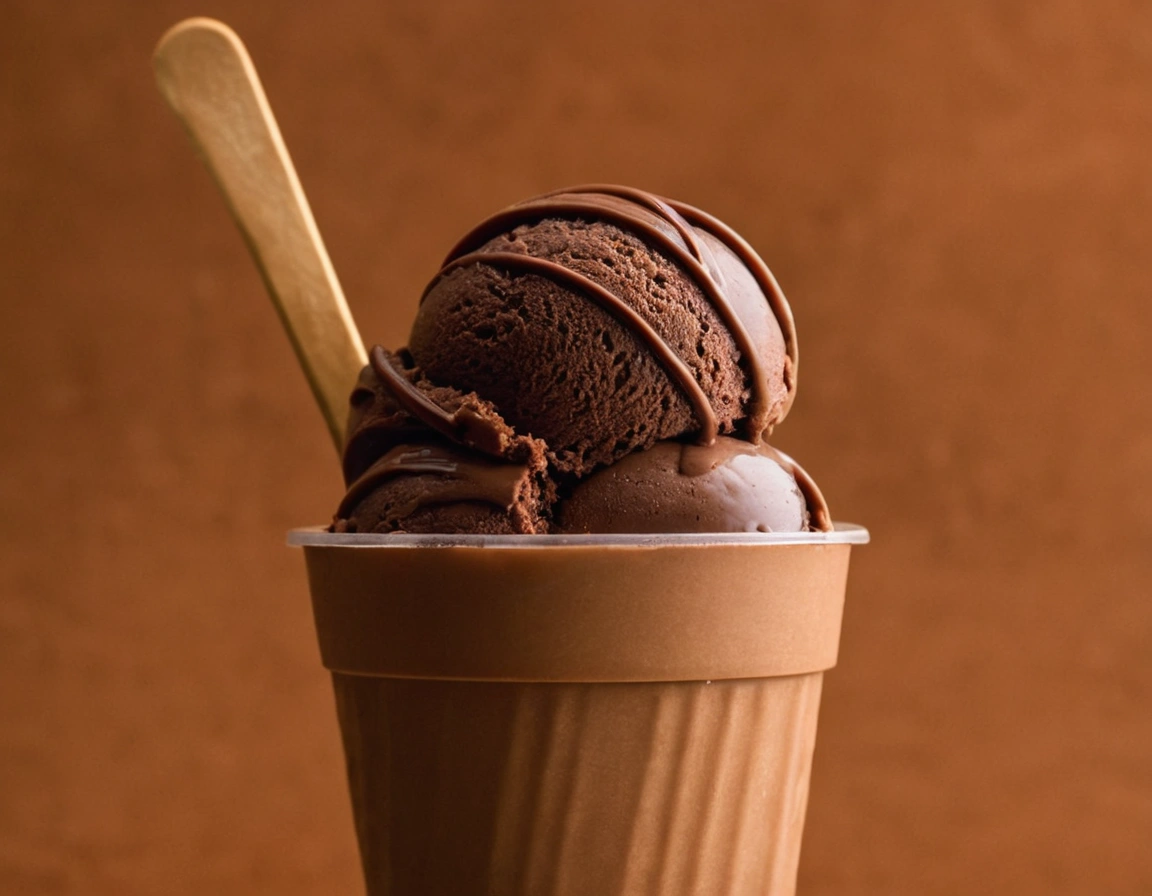
Easy No Cook Chocolate Ice Cream with Eggs
Ingredients
- 4 egg yolks pasteurized recommended
- 1/2 cup granulated sugar
- 1/3 cup unsweetened cocoa powder Dutch-processed or regular
- 1 can 14 oz sweetened condensed milk
- 1 teaspoon pure vanilla extract
- 2 cups heavy cream
- 1/2 cup whole milk optional, for adjusting consistency
Instructions
- Whisk Egg Yolks and Sugar:
- In a mixing bowl, whisk together the egg yolks and granulated sugar until pale and creamy. This helps dissolve the sugar and incorporate air.
- Add Cocoa and Vanilla:
- Sift in the cocoa powder and whisk until smooth. Add the vanilla extract and continue to blend until fully incorporated.
- Stir in Sweetened Condensed Milk:
- Pour in the sweetened condensed milk and stir until well combined. If the mixture is too thick, add a splash of whole milk to loosen it slightly.
- Whip the Cream:
- In a separate bowl, whip the heavy cream using a hand mixer until soft peaks form. Do not overwhip.
- Fold Mixtures Together:
- Gently fold the whipped cream into the chocolate base. Use a spatula and fold carefully to retain as much air as possible.
- Freeze:
- Transfer the mixture to a freezer-safe container. Smooth the top, press plastic wrap against the surface, and seal with a lid. Freeze for at least 6 hours or overnight.
- Serve:
- Let sit at room temperature for 5–10 minutes before scooping. Enjoy as is, or serve with your favorite toppings.
For more Dessert ideas visit our category of dessert
,