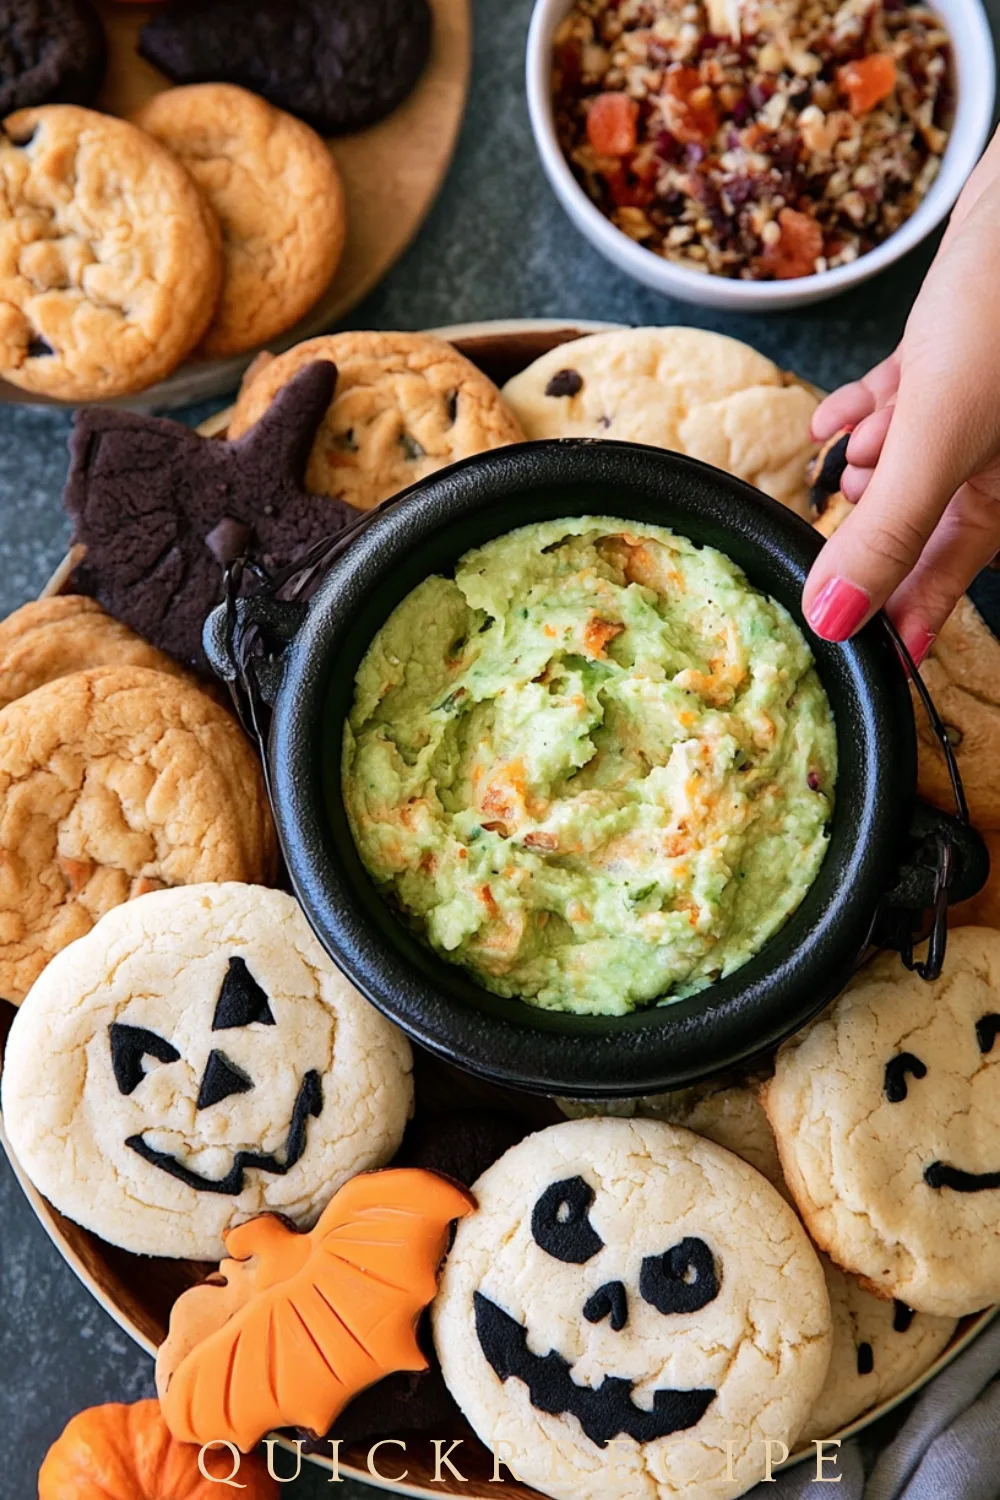
Spooky Halloween Cauldron Cookies with Chocolate “Bubbles”
Summary: These fun, spooky cauldron‑shaped cookies look like witch’s pots bubbling with magical potion. With black icing, green “potion” frosting, and chocolate “bubbles,” they’re perfect for Halloween parties, classrooms, and bake sales.
Servings: About 18–24 cookies (depending on cutter size)
Cooking Time: 10–12 minutes per batch
Cuisine: American / Holiday Dessert
Why Kids (and Adults) Love Cauldron Cookies
Fun, Spooky Shape That Looks Like a Witch’s Cauldron
Using a cauldron‑shaped cookie cutter (or a simple round cookie with added “handles”) creates an instantly recognizable Halloween treat. The shape alone makes them exciting for kids.
Customizable Colors and “Potion” Designs
You can go classic with black cookies and green “potion,” or get creative with purple, orange, or red frosting. Add edible glitter, sprinkles, or candy eyes for extra magic.
Great for Parties, Classrooms, and Bake Sales
These cookies are easy to transport, look impressive on platters, and fit perfectly into Halloween-themed events. They’re a hit at school parties, neighborhood gatherings, and charity bake sales.
Simple Base Cookie With Creative Decorating
Start with a basic sugar or chocolate cookie dough, then let creativity take over with icing, frosting, and candy decorations. The base is simple; the fun is in the design.
Ingredients for Cauldron‑Shaped Cookies
Sugar Cookie or Chocolate Cookie Base Options
Use your favorite rolled sugar cookie recipe for a classic taste, or chocolate cookie dough for a darker, more “mysterious” cauldron. Both hold their shape well for cutouts.
Black Icing or Fondant for the Cauldron Outline
Black royal icing or rolled black fondant creates the cauldron’s exterior. You can tint white icing with black gel food coloring or use pre‑made black decorating icing.
Green “Potion” Frosting or Ganache
A bright green buttercream frosting or glossy green ganache fills the center of the cauldron to look like bubbling potion. Gel food coloring gives vibrant results without thinning the frosting.
Chocolate “Bubbles” and Edible Glitter
Melted chocolate chips or candy melts piped into small dots create “bubbles” rising from the potion. Edible glitter or luster dust adds a magical shimmer.
How to Make Chocolate “Bubbles”
Melting Chocolate Chips or Candy Melts
Melt semi‑sweet chocolate chips or colored candy melts in short bursts in the microwave (15–20 seconds at a time), stirring between each burst until smooth. Alternatively, use a double boiler.
Piping Small Dots for Bubble Effect
Transfer melted chocolate to a small piping bag or zip‑top bag with a tiny corner snipped off. Pipe small, random dots over the green “potion” area to mimic rising bubbles.
Adding Color: Green, Purple, Orange Melts
Use pre‑colored candy melts in green, purple, or orange for themed bubbles. Mix colors for a more magical, multi‑tonal potion effect.
Letting Bubbles Set Before Decorating
Allow the chocolate bubbles to harden at room temperature or in the fridge for 5–10 minutes before adding final touches like glitter or sprinkles. This prevents smudging.
Step‑by‑Step: Decorating Cauldron Cookies
Cutting or Shaping Cauldron Cookies
Roll out chilled cookie dough to ¼‑inch thickness. Use a cauldron‑shaped cutter, or cut circles and add small rectangular “handles” on each side with a knife. Transfer to parchment‑lined baking sheets.
Outlining and Flooding With Black Icing
Once cookies are baked and cooled, outline the edges with black royal icing using a fine tip. “Flood” the interior (leaving space for the potion) with thinner black icing and let it set completely.
Adding Green “Potion” and Bubble Details
Pipe or spread green frosting in the center of each cauldron to look like potion. Add piped chocolate bubbles on top, varying sizes for a natural look.
Finishing Touches: Glitter, Sprinkles, Spider Webs
Dust with edible glitter for shimmer, add tiny candy sprinkles as “ingredients,” or pipe delicate white spider webs across the corners for extra spookiness.
Party Ideas, Storage, and Variations
Displaying Cookies on a Halloween Platter
Arrange cookies on a black or orange platter with plastic spiders, fake cobwebs, or dry ice (for dramatic effect at parties). Group by color or design for visual impact.
Packing Tips for School and Party Favors
Stack cooled, decorated cookies between layers of parchment or wax paper in a sturdy container. Seal tightly to prevent icing from smudging during transport.
Storing to Keep Icing From Smudging
Store cookies in a single layer in an airtight container at room temperature for up to 5 days. If stacking is necessary, separate layers with parchment paper and avoid pressing down.
Variations: Ghost Cauldrons, Monster Eyes, Themed Colors
Create ghost‑shaped cauldrons with white icing, add candy monster eyes peeking from the potion, or use team colors for school spirit. The possibilities are endless for themed events.
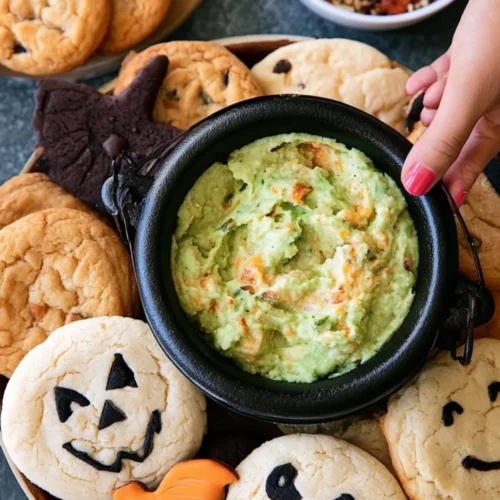
Spooky Halloween Cauldron Cookies with Chocolate “Bubbles”

Ingredients
For the Cookies:
- 2¾ cups 345 g all‑purpose flour
- 1 tsp baking powder
- ¼ tsp salt
- 1 cup 225 g unsalted butter, softened
- 1 cup 200 g granulated sugar
- 1 large egg
- 1 tsp vanilla extract
- Optional: 2–3 tbsp milk if dough is too dry
For the Black Icing:
- 2 cups 240 g powdered sugar
- 2 –3 tbsp milk or water
- 1 tbsp light corn syrup for shine
- 1 tsp vanilla extract
- Black gel food coloring
For the Green “Potion” Frosting:
- 1 cup 225 g unsalted butter, softened
- 3 –4 cups 360–480 g powdered sugar
- 2 –3 tbsp heavy cream or milk
- 1 tsp vanilla extract
- Green gel food coloring
For the Chocolate “Bubbles”:
- ½ cup 85 g semi‑sweet chocolate chips or green/purple/orange candy melts
- Optional: edible glitter or luster dust
Instructions
- Make the cookie dough: In a medium bowl, whisk together flour, baking powder, and salt. In a large bowl, cream softened butter and sugar until light and fluffy. Beat in egg and vanilla. Gradually add dry ingredients, mixing until just combined. Add milk if dough is too crumbly.
- Chill the dough: Divide dough in half, flatten into discs, wrap in plastic, and refrigerate for at least 1 hour (or up to 2 days).
- Roll and cut: Preheat oven to 350°F (175°C). Line baking sheets with parchment paper. Roll dough to ¼‑inch thickness on a lightly floured surface. Cut into cauldron shapes (or circles with added “handles”). Place on prepared sheets.
- Bake: Bake for 10–12 minutes, until edges are lightly golden. Cool on sheets for 5 minutes, then transfer to wire racks to cool completely before decorating.
- Make black icing: Whisk together powdered sugar, milk/water, corn syrup, and vanilla until smooth. Add black gel food coloring a little at a time until desired depth is reached. Adjust consistency: thicker for outlining, thinner for flooding.
- Outline and flood cookies: Use a fine tip to outline cookie edges with black icing. Let set 10 minutes, then flood the outer area (leaving center open for potion) with thinner black icing. Let dry completely (1–2 hours).
- Make green frosting: Cream softened butter until fluffy. Gradually add powdered sugar, cream/milk, and vanilla. Beat until smooth. Add green gel food coloring until vibrant.
- Add “potion” and bubbles: Pipe or spread green frosting in the center of each cauldron. Melt chocolate chips or candy melts, pipe small dots over green frosting for bubbles, and let set.
- Finish and serve: Add edible glitter, sprinkles, or other decorations as desired. Let all decorations set completely before stacking or packaging.
Notes
- For best results, decorate cookies a day ahead to allow icing to fully harden.
- Store decorated cookies in an airtight container at room temperature for up to 5 days.