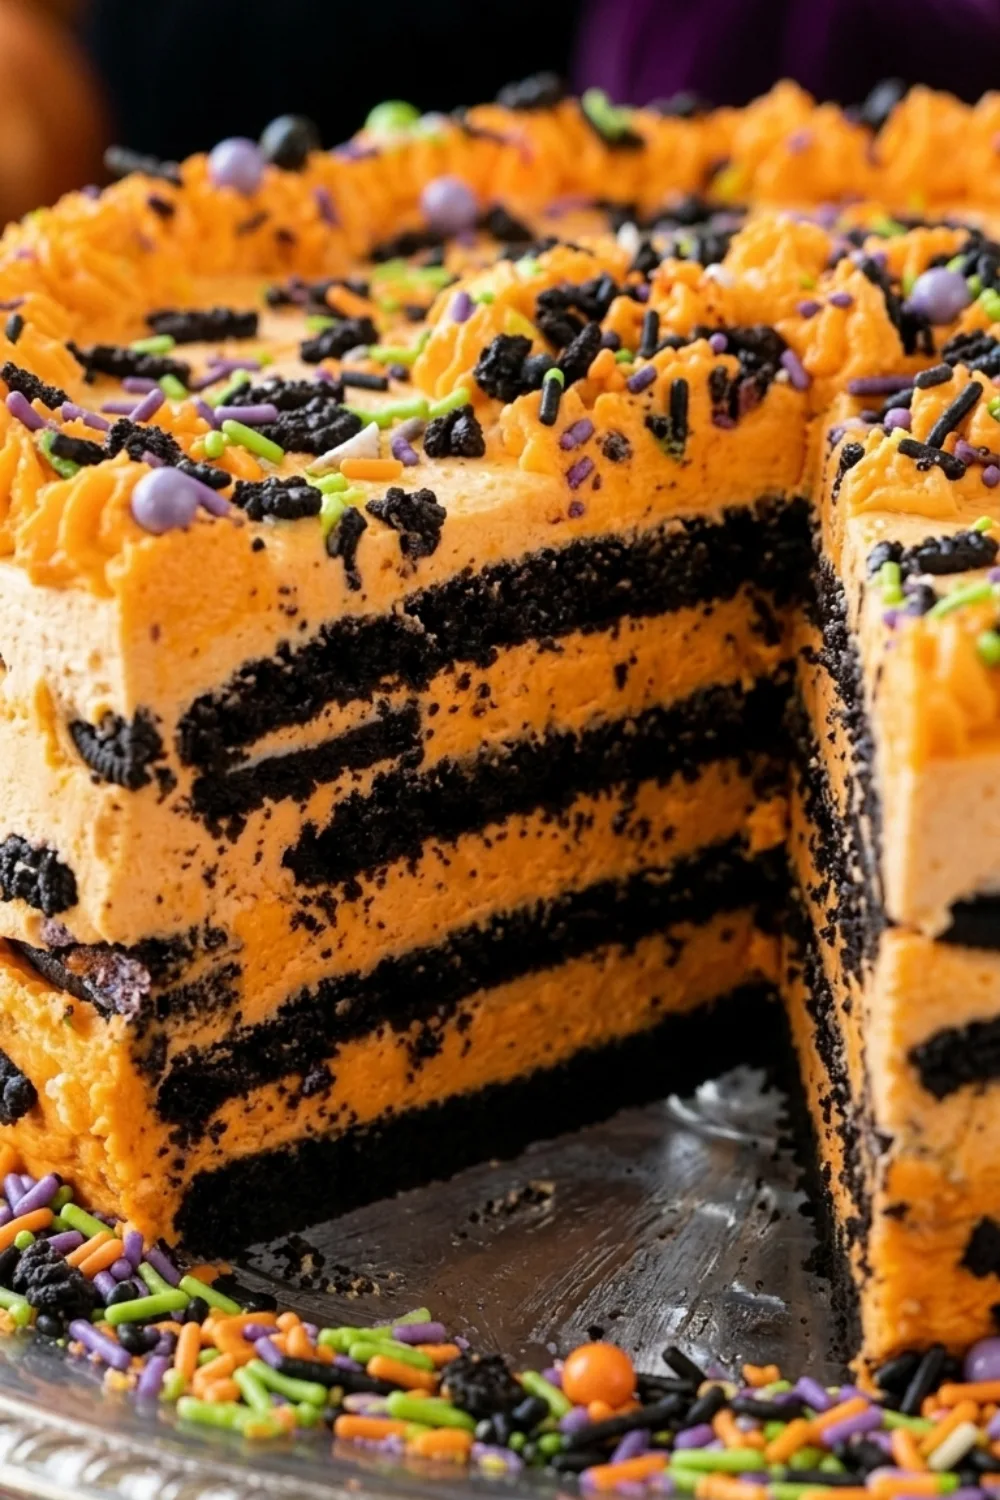
This Halloween icebox cake is an easy no-bake dessert made with chocolate sandwich cookies, fluffy whipped cream, festive orange-and-black decorations, and spooky candy toppings. It needs no oven, can be prepared a day ahead, and becomes soft and cake-like after chilling overnight.
Summary: A fun Halloween icebox cake layered with chocolate cookies and homemade whipped cream, then decorated with orange sprinkles, candy eyes, and crushed cookies. It is a simple make-ahead dessert for Halloween parties, family gatherings, or a spooky movie night.
Servings: 12
Prep time: 25 minutes
Chill time: 8 hours or overnight
Cook time: 0 minutes
Total time: 25 minutes, plus chilling
Cuisine: American
Course: Dessert
Diet: Vegetarian
What Is a Halloween Icebox Cake?
An icebox cake is a no-bake dessert made by layering cookies or crackers with whipped cream, pudding, or another creamy filling. It chills in the refrigerator for several hours so the cookies absorb moisture from the cream and soften into tender, cake-like layers. The name comes from the older word “icebox,” which was used for a refrigerator.littlesweetbaker+1
A Halloween icebox cake uses the same easy method but adds seasonal colors and decorations. Chocolate cookies create dark layers, while orange sprinkles, candy eyes, and Halloween candies create a fun spooky look.
A no-bake layered refrigerator dessert
Unlike a traditional baked layer cake, an icebox cake does not require an oven. You simply assemble layers in a baking dish, cover it, and let the refrigerator do the work.
This makes it a useful dessert when your oven is busy with party food or when you need an easy recipe that children can help assemble. The hardest part is waiting for the cake to chill long enough.
How cookies soften into cake-like layers
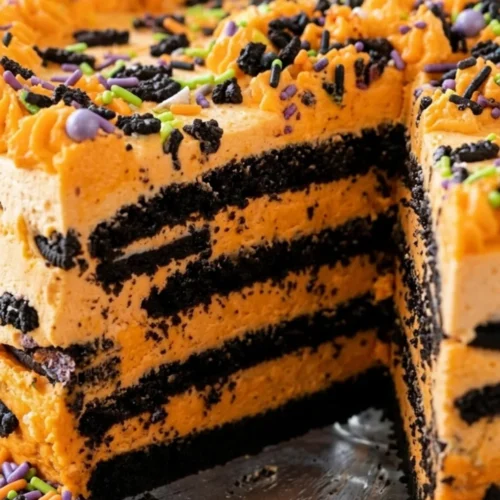
The cookies absorb moisture from the whipped cream as the cake chills. Over time, their crisp texture changes into soft, sliceable layers that resemble a tender chocolate cake.
For the best texture, chill the cake for at least 8 hours. Overnight chilling is ideal because it gives the cookies enough time to soften fully and lets the flavors blend together.
Why icebox cakes are ideal for parties
Icebox cakes are easy to make ahead, which is helpful when you are hosting a Halloween party. You can prepare the entire dessert the day before, keep it chilled, and add a few final decorations before serving.
The recipe is also easy to scale. Make it in a 9-by-13-inch dish for a larger crowd, or use a loaf pan for a smaller Halloween dessert.
A make-ahead Halloween dessert idea
Halloween is often busy with costumes, guests, decorations, and party food. A no-bake dessert that is already prepared in the refrigerator saves time on the day of the event.
Make this Halloween icebox cake the evening before your party. It will be chilled, set, and ready to slice when you need it. Add candy eyes or delicate sprinkles shortly before serving so they look their best.
Ingredients You’ll Need
This simple no-bake Halloween dessert needs a short list of ingredients. You can customize the colors, cookies, and toppings to match your party theme.
Chocolate sandwich cookies or chocolate cookies
Chocolate sandwich cookies, such as Oreo-style cookies, create the dark layers that suit a Halloween theme. They soften beautifully as they chill in the whipped cream.
You can also use chocolate wafer cookies, chocolate graham crackers, chocolate chip cookies, or thin chocolate cookies. If using a very thick cookie, allow extra chilling time so it softens enough to slice easily.
Whipped cream or whipped topping
Homemade whipped cream gives the cake a light, fresh flavor. Use cold heavy whipping cream, powdered sugar, and vanilla extract, then whip until medium-stiff peaks form.
For a shortcut, use thawed whipped topping. It is stable, easy to use, and helpful if you are making the dessert with children. You may use all homemade whipped cream, all whipped topping, or a combination.
Vanilla, powdered sugar, and food coloring
Powdered sugar sweetens and stabilizes the whipped cream, while vanilla adds classic dessert flavor. A small pinch of salt balances the sweetness.
Orange gel food coloring is optional but makes the cream layers festive. Gel coloring works best because it adds strong color without thinning the cream. Use only a few drops at a time until you reach your desired shade.
Halloween sprinkles, candy eyes, and decorations
Decorate the top with orange, black, purple, and green sprinkles; candy eyes; crushed chocolate cookies; Halloween candy corn; or small candy pumpkins.
Use edible decorations only on the dessert. If you decorate the serving table with plastic spiders, toy skeletons, or other Halloween props, keep them separate from the food and remove them before guests begin serving themselves.
How to Make Halloween Icebox Cake
The process is simple: whip the cream, layer cookies and cream, chill the cake overnight, then decorate it for Halloween.
Whip the cream and prepare the filling
Place a large mixing bowl and the beaters of a hand mixer in the refrigerator or freezer for 10 to 15 minutes. A cold bowl helps the cream whip faster and hold its shape.
Add cold heavy whipping cream, powdered sugar, vanilla extract, and a pinch of salt to the chilled bowl. Beat on medium-high speed until medium-stiff peaks form. The whipped cream should hold its shape but still look smooth and creamy.
Do not overwhip. If whipped cream is beaten too long, it can become grainy and eventually turn into butter. Fold in orange gel food coloring gently, if using.
Layer cookies and cream
Spread a thin layer of whipped cream across the bottom of a 9-by-13-inch baking dish. This prevents the first cookie layer from sliding.
Arrange a single layer of chocolate sandwich cookies over the cream. Break a few cookies as needed to fill open spaces. Spread one-third of the remaining whipped cream evenly over the cookies.
Repeat the layers until you have three cookie layers and finish with whipped cream on top. The exact number of layers may vary slightly based on the size of your baking dish and cookies.
Decorate the spooky dessert
Cover the dish and refrigerate the cake for at least 8 hours or overnight. For a neater finish, wait to add candy eyes, large sprinkles, and delicate candies until shortly before serving.
Top the chilled cake with crushed chocolate cookies to create a “graveyard dirt” effect. Add candy eyes for a monster look, orange and black sprinkles for a classic Halloween design, or candy pumpkins for a pumpkin-patch theme.
Chill overnight until sliceable
The chilling period is essential. The cookies need time to soften so the dessert slices neatly rather than breaking apart.
Cover the dish with plastic wrap or a fitted lid and refrigerate for 8 to 12 hours. While some icebox cakes can be ready after 4 to 5 hours, an overnight rest usually gives the best cake-like texture.littlesweetbaker+2
When ready to serve, use a sharp knife to cut squares. Wipe the knife clean between slices if you want cleaner layers.
Halloween Decorating and Variation Ideas
This Halloween icebox cake is easy to adapt. Choose one visual theme, rather than adding every available topping, so the finished cake looks festive and intentional.
Orange, purple, and black Halloween colors
For a classic Halloween look, tint the whipped cream orange and decorate with black sprinkles and crushed chocolate cookies. You can also divide the whipped cream into two bowls, tinting one orange and one purple, then alternate colors between layers.
Black gel food coloring can create a dramatic effect, but use it sparingly because too much can affect the flavor. Dark chocolate cookies already add a strong black-and-brown Halloween contrast.
Add candy eyes and spooky sprinkles
Candy eyes turn the top of the cake into a playful monster dessert. Use different sizes for a silly look, or cluster several candy eyes together on each serving.
Halloween sprinkles, candy bats, edible spiders, and small candy pumpkins also work well. Add these toppings just before serving because colors from some sprinkles can bleed when they sit in whipped cream for many hours.
Make a pumpkin or ghost-themed cake
For a pumpkin-themed cake, tint the cream orange and create a jack-o’-lantern face with chocolate chips or black icing. You can make a round version in a springform pan for a more pumpkin-like shape.
For a ghost-themed version, keep the whipped cream white and add candy eyes. Use dark chocolate cookie crumbs around the edges to create a spooky graveyard effect.
Use different cookies and flavored whipped cream
Use golden sandwich cookies with orange cream for a lighter-colored dessert, or use chocolate graham crackers for a less sweet option. Vanilla wafers, graham crackers, and cinnamon cookies also work, but they create a different flavor and color.
For flavored whipped cream, add 1 tablespoon of cocoa powder, a small amount of instant espresso powder, pumpkin pie spice, cinnamon, or orange zest. Keep additions light so the whipped cream still holds its shape.
Make-Ahead, Storage, and Serving Tips
This no-bake Halloween dessert should stay refrigerated until serving because it contains whipped cream. It is at its best within the first few days, when the layers are soft but not overly saturated.
How long should icebox cake chill?
Chill the cake for at least 8 hours, but overnight is best. This gives the cookies enough time to absorb moisture and transform into soft, cake-like layers.
If you slice it too early, the cookies may still be crunchy and the layers may slide apart. If the cake chills longer than 24 hours, it will still be tasty, but the cookies become softer.
Can Halloween icebox cake be made ahead?
Yes. Make the cake one day ahead and refrigerate it overnight. It can generally be prepared up to 24 hours before serving for the best appearance and texture.
If using candy eyes, wafer decorations, or sprinkles that could bleed, add them shortly before serving. Keep the cake covered so it does not absorb refrigerator odors.
How to store leftover icebox cake
Cover leftover Halloween icebox cake tightly and refrigerate it promptly. General USDA guidance is to refrigerate perishable leftovers within 2 hours and keep them for 3 to 4 days at refrigerator temperature.fsis.usda+2
For the best texture, enjoy this cake within 2 to 3 days. After that, the cookies may become very soft and the whipped cream can lose some of its volume.
How to slice and serve a chilled cake
Use a sharp knife or an offset spatula to cut and lift squares from the dish. Dip the knife in warm water and wipe it dry between cuts for neater portions.
Serve the cake cold. Keep it refrigerated until shortly before serving, especially at a party where it may sit out for a while. Return leftovers to the refrigerator promptly.
Halloween Icebox Cake

Ingredients
- 3 cups cold heavy whipping cream
- ½ cup powdered sugar
- 2 teaspoons vanilla extract
- ⅛ teaspoon salt
- Orange gel food coloring optional
- 36 to 40 chocolate sandwich cookies
- ¼ cup crushed chocolate sandwich cookies optional for topping
- ¼ cup Halloween sprinkles
- Candy eyes candy pumpkins, or other edible Halloween decorations, optional
Instructions
- Chill a large mixing bowl and the beaters of a hand mixer for 10 to 15 minutes.
- Add the cold heavy whipping cream, powdered sugar, vanilla extract, and salt to the chilled bowl. Beat on medium-high speed until medium-stiff peaks form. Do not overwhip.
- Fold in a few drops of orange gel food coloring, if using, until the whipped cream reaches your desired shade.
- Spread a thin layer of whipped cream across the bottom of a 9-by-13-inch baking dish.
- Arrange a single layer of chocolate sandwich cookies over the cream, breaking cookies as needed to fit.
- Spread about one-third of the remaining whipped cream evenly over the cookie layer.
- Repeat with two more layers of cookies and whipped cream, finishing with whipped cream on top.
- Cover the dish tightly and refrigerate for at least 8 hours or overnight.
- Before serving, decorate with crushed cookies, Halloween sprinkles, candy eyes, candy pumpkins, or other edible decorations.
- Slice cold and serve immediately.
Notes
- Whipped topping option: Replace homemade whipped cream with two 8-ounce tubs of thawed whipped topping.
- Chilling time: Chill for at least 8 hours. Overnight chilling produces the softest, most cake-like cookie layers.littlesweetbaker+2
- Decorating tip: Add candy eyes and colored sprinkles shortly before serving to help prevent color bleeding.
- Storage: Cover and refrigerate leftovers promptly. Refrigerate perishable foods within 2 hours and use leftovers within 3 to 4 days; this cake has the best texture within 2 to 3 days.fsis.usda+2
- Freezing: Freezing is not recommended because whipped cream and cookie layers can change texture after thawing.
- Pan option: Make a smaller cake in a loaf pan; use about half of the ingredients and line the pan with plastic wrap for easier removal.